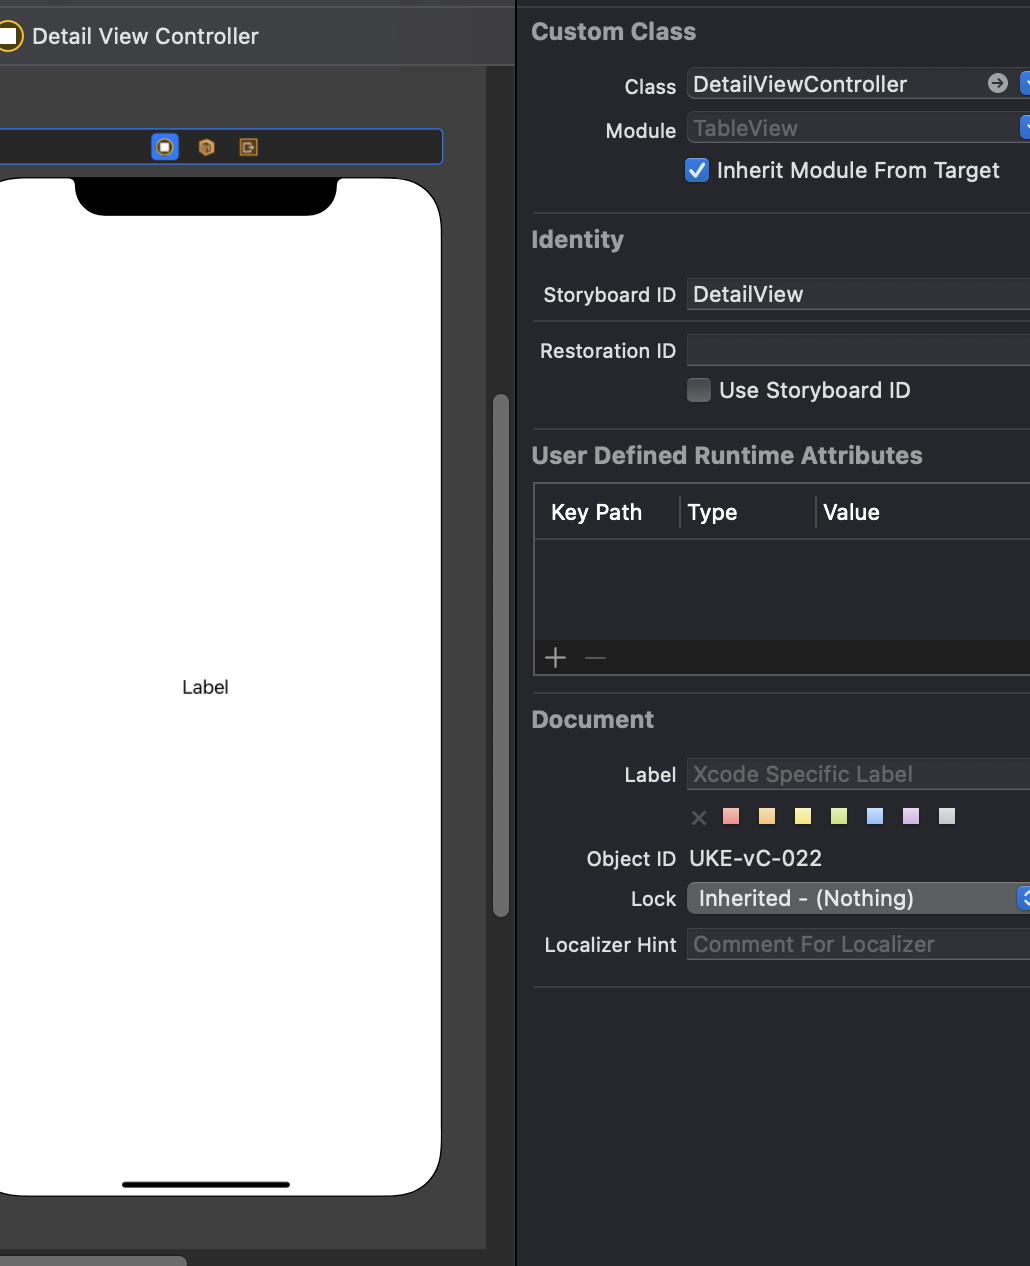
테이블뷰란 데이터를 목록형태로 보여주기 위한 가장 좋은 방법이다
구현하는법을 알아보자


ViewController
import UIKit

class ViewController: UIViewController {

    var numOfRows = 0 // cell의 개수

    @IBOutlet weak var tableView: UITableView!

    override func viewDidLoad() {
        super.viewDidLoad()
        // Do any additional setup after loading the view.
        self.tableView.dataSource = self
        self.tableView.delegate = self
    }

    @IBAction func addBtn(_ sender: Any) {
        numOfRows = numOfRows + 1 // 버튼을 누를때마다 cell을 한개씩 늘린다
        tableView.reloadData() // tableview reloadData
    }


}

extension ViewController: UITableViewDataSource { // UITableViewDataSource 프로토콜 선언
    func tableView(_ tableView: UITableView, numberOfRowsInSection section: Int) -> Int {
        return numOfRows // 셀의 개수를 정하는 메소드 리턴값은 Int 이다
    }

    func tableView(_ tableView: UITableView, cellForRowAt indexPath: IndexPath) -> UITableViewCell {
        guard let cell = tableView.dequeueReusableCell(withIdentifier: "cell", for: indexPath) as? TableViewCell else {return UITableViewCell()}
        /*
         재새용할 프로토타입셀
         with Identifire : "재사용할 프로토타입셀의 identifire"
         CustomCellClass 로 다운캐스팅한다
         리턴값은 UITableViewCell 이다
         */
        cell.cellLabel.text = "\(indexPath.row)번째 셀입니다" // cell의 label text 설정
        /*
         indexPath 는 행을 식별하는 인덱스 경로이다
         */
        return cell
    }
}

extension ViewController: UITableViewDelegate {

    func tableView(_ tableView: UITableView, didSelectRowAt indexPath: IndexPath) {

        /*
         테이블뷰를 눌렀을때 일어날 이벤틀르 정하는 메소드이다
         */

        guard let view = self.storyboard?.instantiateViewController(identifier: "DetailView") as? DetailViewController else {
            return
        }

        /*
         이동할 뷰컨트롤러 설정
         identifire: "이동할 뷰컨트롤러의 identifier"
         CustomVIewController Class 로 다운캐스팅한다
         여기선 DetailViewController 이다
         */

        view.str = "\(indexPath.row)번째 셀입니다" // 이동할 뷰의 label에 띄어줄 데이터 전송

        self.present(view, animated: true, completion: nil) // 화면이동
    }

}

class TableViewCell: UITableViewCell { // Custom UITableViewCell
    @IBOutlet weak var cellLabel: UILabel! // cell의 레이블
}
DetailViewController
import UIKit

class DetailViewController: UIViewController {

    @IBOutlet weak var label: UILabel!

    var str: String!

    override func viewDidLoad() {
        label.text = str
    }
}
'ios 개발' 카테고리의 다른 글
| [iOS] Delegate를 이용하여 뷰컨트롤러간 데이터 전송하기 (0) | 2021.09.05 |
|---|---|
| [iOS] Closure를 이용하여 뷰컨트롤러간 데이터 전송하기 (0) | 2021.09.05 |
| [ios] UserDefaults 이용해서 tableView 저장하기 (0) | 2021.08.08 |
| [ios] pageControl로 tableView 제어하기 (0) | 2021.08.07 |
| [ios]textfield 터치시 DatePicker 나오게 하기 (0) | 2021.08.06 |
